Essential Guide to Australian Standards Waterproofing for Wet Areas
Stop Water Damage Before It Starts
Water damage in bathrooms, showers, and other wet areas isn’t just inconvenient — it can cause serious structural problems. We’ve seen it all: rotting timber floors, mould creeping behind walls, and costly repairs from failed waterproofing. The good news? Australian Standards exist to prevent these issues and protect your home.
When waterproofing is done right, it keeps moisture where it belongs, safeguards your building’s structure, and helps your bathroom stay beautiful for years. The safest way to achieve this is by using licensed professionals who know the Australian Standards inside and out. Fixing it early saves you thousands later — and ensures your home remains safe, dry, and compliant.
Call us today to book your waterproofing inspection and keep your bathroom leak-free.
Understanding Australian Standards Waterproofing
The Australian Standard AS 3740 sets the rules for waterproofing in domestic wet areas such as bathrooms, showers, and laundries. It covers:
- The materials you can use (like waterproof membranes)
- How to design and install a compliant waterproofing system
- The correct floor plane grading to direct water to the floor waste
- Minimum heights for shower walls and coverage for finished floor levels
These standards aren’t just suggestions — they are mandatory for new builds and renovations. Regular updates keep them aligned with best practices and new technologies, ensuring your home is protected to the highest standard.
Domestic Wet Areas
Domestic wet areas — bathrooms, laundries, and enclosed showers — are the most common sources of leaks. AS 3740 specifies:
- Waterproof membranes must be applied under all tiled floors
- Shower walls must be sealed up to 1800mm above the finished floor level
- Floors must be graded to a waste with a continuous fall between 1:80 and 1:50
- All junctions between walls and floors sealed with flexible materials
Failing to meet these requirements can lead to moisture creeping into surrounding rooms and damaging the building structure.
Shower Area Considerations
Showers are the most critical waterproofing zone. The standard requires:
- Shower rose positioning that prevents excessive splash beyond the enclosure
- Waterproofing to extend at least 150mm above the shower walls outside the cubicle
- Floor waste positioned for optimal drainage with correct floor plane grading
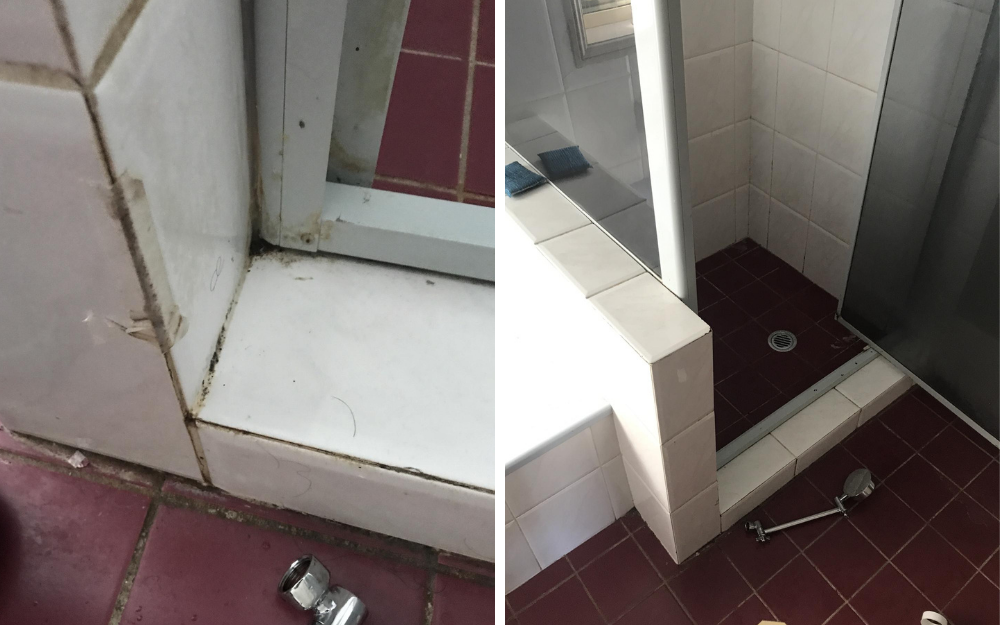
- No gaps or unsealed penetrations around plumbing fixtures
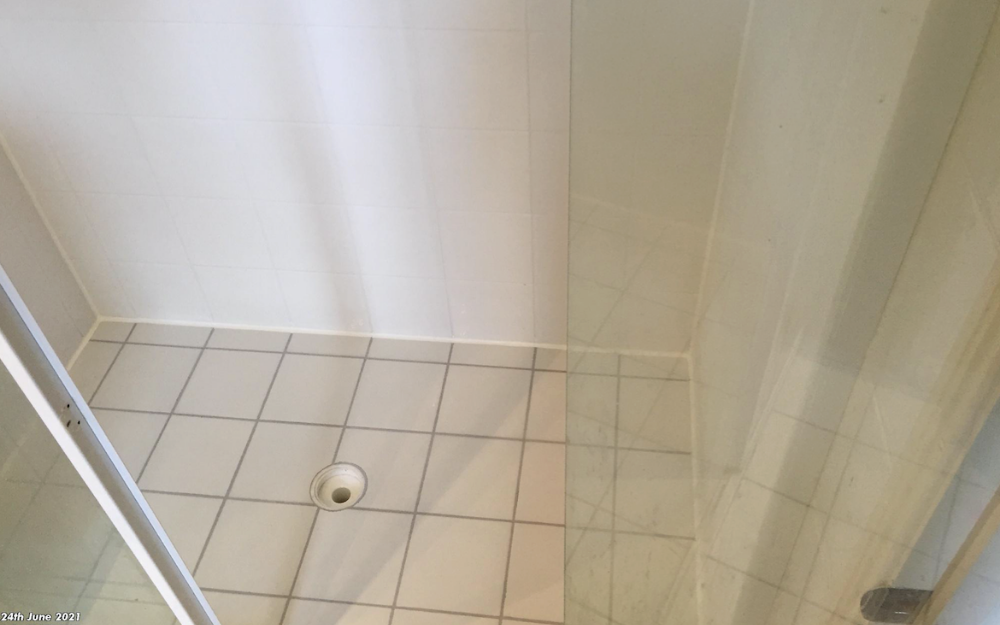
A properly waterproofed shower stops leaks before they start and ensures water drains efficiently without pooling.
Wet Area Floors
Bathroom and laundry floors face constant exposure to water. AS 3740 specifies:
- Continuous waterproofing across the entire floor
- Falls directed to the floor waste at 1:80–1:50
- Correct installation of a finished floor level to contain water
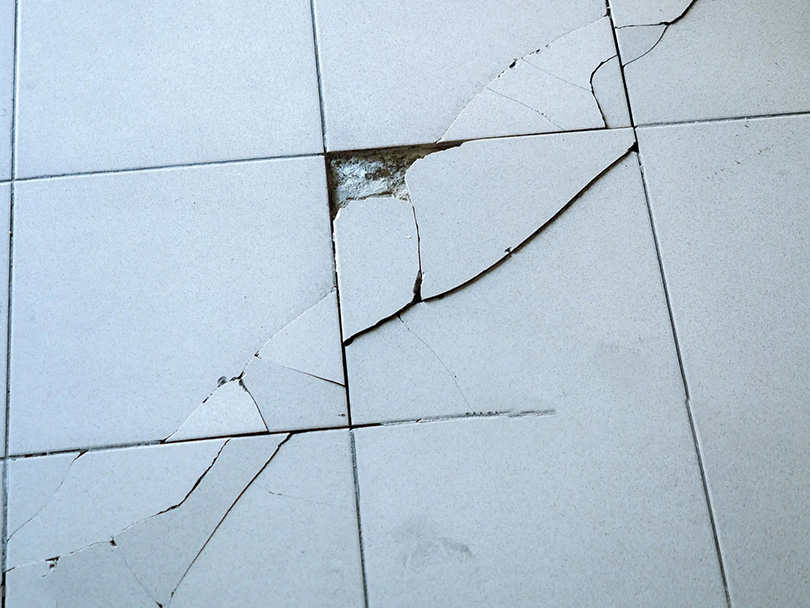
- Regular inspection for cracked grout or loose tiles that may allow water ingress
Maintaining a sealed floor surface is key to preventing long-term moisture problems.
Materials and Techniques
Professional waterproofing uses tested and certified materials:
- Liquid-applied or sheet membranes
- Primers for proper adhesion
- Silicone sealants for corners, junctions, and penetrations
- Masking and cleaning tools to achieve neat, complete coverage
Correct installation is as important as the materials themselves — poor workmanship can ruin even the best products.
DIY vs Professional Waterproofing
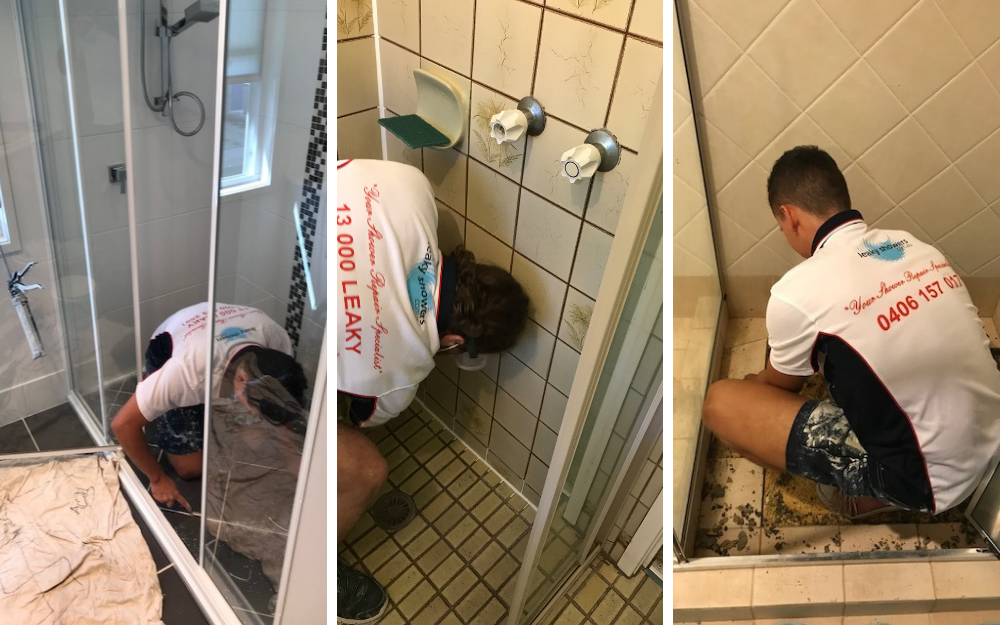
While DIY might seem cost-effective, it often leads to expensive repairs later. Licensed professionals bring:
- Full compliance with Australian Standards
- Experience with complex layouts and hard-to-reach areas
- Access to quality materials not sold to the public
- Warranties for both labour and materials
- Peace of mind knowing your wet areas are sealed for the long term
Common Mistakes to Avoid
- Incorrect floor plane grading causing water pooling
- Skipping primer before applying membrane
- Not sealing wall and floor junctions
- Using non-compliant products or techniques
These mistakes can cause your waterproofing to fail — often within months.
Frequently Asked Questions
What is the Australian Standard 4654?
AS 4654 sets the requirements for waterproofing membranes used in external above-ground applications, such as balconies, podiums, and rooftops. It ensures these membranes are durable, UV-resistant, and capable of withstanding outdoor conditions.
What is the Australian Standard AS 3740–1994?
AS 3740–1994 was an earlier version of the domestic wet areas waterproofing standard. It has since been updated to reflect improved techniques and materials, but the core principles of protecting wet areas remain the same.
What is the latest version of AS 3740?
The most recent version is AS 3740–2021, which includes updated guidelines on waterproofing membranes, floor grading, and coverage requirements for wet areas.
Do you need a certificate for waterproofing in Australia?
Yes. In most states and territories, waterproofing must be carried out by a licensed professional, and a compliance certificate is required for building inspections and approvals.
Stay Compliant, Stay Protected
Proper waterproofing is an investment in your home’s safety, comfort, and value. By following Australian Standards and hiring an experienced waterproofing professional, you ensure your wet areas, shower walls, and bathroom floors remain in top condition for years.
Call us now on 0403 558 896 or book a free quote to stop your leaking shower and protect your bathroom for the long haul.


